 |
| Image taken from Google images An easy to go guide for installing the Anaconda in Windows 10. |
1. Prerequisites
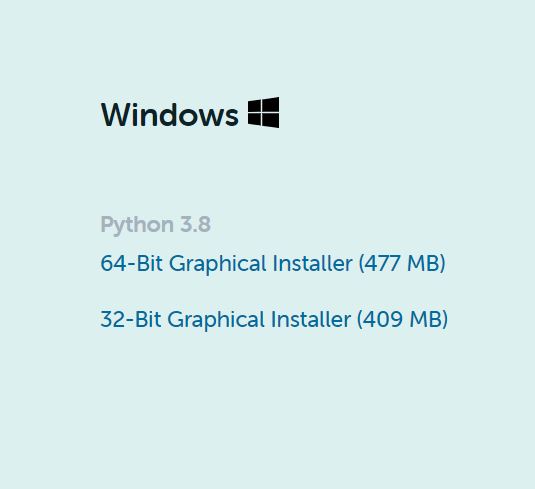
* RAM — Min. 8GB, if you have SSD in your system then 4GB RAM would also work. * CPU — Min. Quad-core, with at least 1.80GHz * Windows 8 or later Windows- 64-bit x86, 32-bit x86 Minimum 5 GB disk space to download and install We need to download the Anaconda from HERE. On opening the link we would be greeted by a great web page. 2. Unzip and InstallWelcome back... The great thing is we already downloaded the .exe file and don't need to unzip anything. Now, the very next step is to open and execute the file we downloaded...
3. Finishing the SetupGreat...!!! We have successfully installed Anaconda and would be greeted by the below page once the installation is complete. If you want to learn more about the Anaconda and want to check out the tutorial you can select the options and click "Finish". Congrats Once again for getting a step closer to your Data Science Journey... 4. Launching the AnacondaIt's time to check the setup and start working with the Anaconda. Search "Anaconda" in the search bar and we will get the following options for Anaconda... Select Anaconda Navigator for opening the Anaconda software, else you can select the Anaconda prompt for the Command Line Interface. 4.1 Anaconda NavigatorWe will see the below screen of Anaconda home with all the various software installed with the Anaconda package on selecting the navigator option. 4.2 Anaconda PromptWe will see the below screen of the Anaconda prompt on selecting the Anaconda Prompt option. option. 5. Congratulations..!!!!🎉Congratulation! We have successfully installed Anaconda. There are chances that some of us might have faced some issues… Don’t worry it's most likely due to some small miss or incompatible software. If you face any such issue, please visit all the steps carefully and verify the right software versions. If you still can’t get Anaconda up and running, Don’t hesitate to describe your problem below in the comment section. Happy Learning... |
Let's catch up in 2nd Section (Unzip and Install)


Comments
Post a Comment